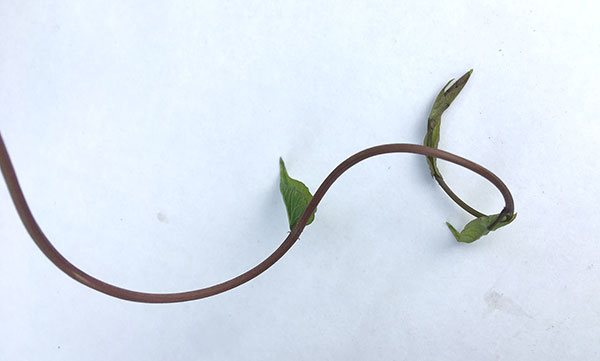
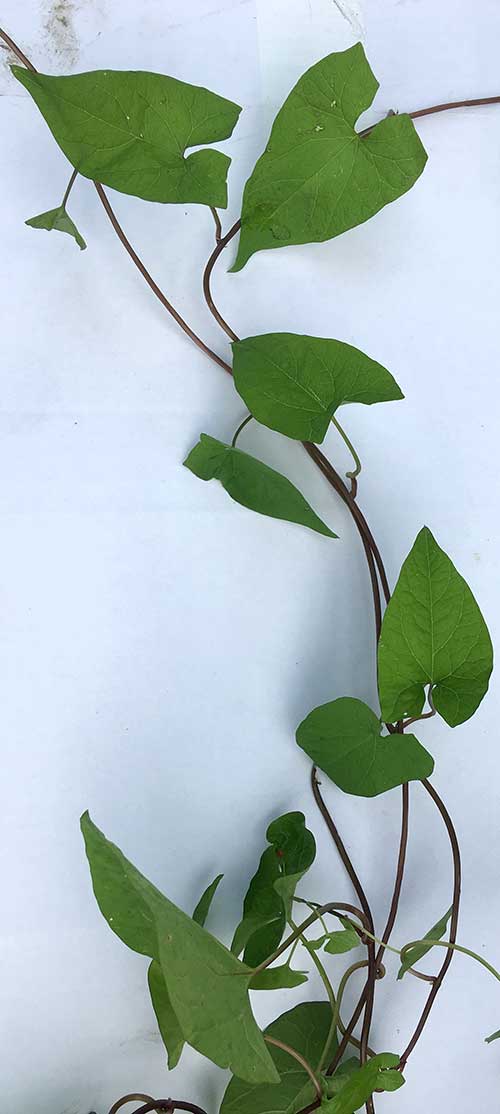
Illustration © nic-nic 2019
Pest or guest of the month
|
This monthly selection offers a description of some of Warriston's beasty and 'beastly' inhabitants and advice on how to live with them organically. Find more in our Pest or Guest archive |
July 2019—The Battle with BindweedEwan from the east side details his experience with one of Warriston's major plant pests, the beautiful but invasive bindweed.
My experience in trying to remove bindweed is now in its second year. When I took over my plot at Warriston it was everywhere—perhaps it would be more appropriate to call it throttle-weed! After much dispiriting reading on the internet, I decided a clean start approach would be necessary if I was to stand any chance of eradicating it. Unfortunately, everything had to go, so that there was nowhere for the roots to hide. The field bindweed species is native to Europe and is now distributed worldwide. Spreading by seed (seed can persist for many years in typical garden soil) and through a deep, extensive horizontal root system, bindweed tolerates poor soils but seldom grows in wet or waterlogged areas. It grows along the ground until it contacts other plants or structures and spreads over anything in its path, its stems rotating in a circular pattern until they attach to a solid structure (fence posts, other plants etc). As I was going for the fresh start, I sprayed once with glyphosate, but now regret it. I also tried covering a section of my plot with black plastic for a year, but there were still bindweed root present when lifted. What I've found to be most effective, so far at least, has been to: 1. Completely dig over the whole area and remove all the bindweed roots you find. I had barrowloads — these were put on the bonfire or rotted down completely in a bucket of water (for at least four weeks) for adding to my compost heap. Bindweed is said to be capable of growing down several meters but that isn't what I encountered. 2. Dig a trench a spade deep round your boundaries. Make it crisp and vertical to the outside edge. Bindweed roots didn’t sprout much where they had been chopped at these boundaries, tending to cauterise and die back. But no mater how diligent you are, there will be root fragments remaining. 3. Don’t give it an inch and be vigilant with hoe and trowel. Where I have young vegetables planted, the spacing is as least as wide as my favourite sharp hoe. Where I can get greater access I go in carefully with a pointed trowel and try to get the root remnant out as well as any visible growth. 4. Avoid as far as possible creating structures, such as raised beds. Underground roots spread till they find resistance and send up a shoot. 5. I have also found it beneficial to lay a cardboard mulch on my vegetable bed access paths. As it decays I add more. 6. I have horsetail as well, so deal with that at the same time and in the same way. The horsetail is currently sprouting faster than the bindweed! 7. I am hoping that by denying fresh growth the opportunity to photosynthesise, the underground root network will eventually expire. That may be several years away, I don’t yet know! 8. I try to control the growth of bindweed on the railway cycle path beside me by pulling it out before it flowers. It twists with glee round bramble stems so gloves are necessary. Although the flowers are very pretty, they will set a lot of seed if left to ripen. There is a lot of not very helpful stuff on the internet about bindweed but I quite liked this article in The Guardian by Alys Fowler: www.theguardian.com/lifeandstyle/2017/jun/03/how-to-deal-with-bindweed-alys-fowler |

Bindweed aka Calystegia sepium

Bindweed aka Calystegia sepium
Photo Credit:NM |


